Click here for the previous articles
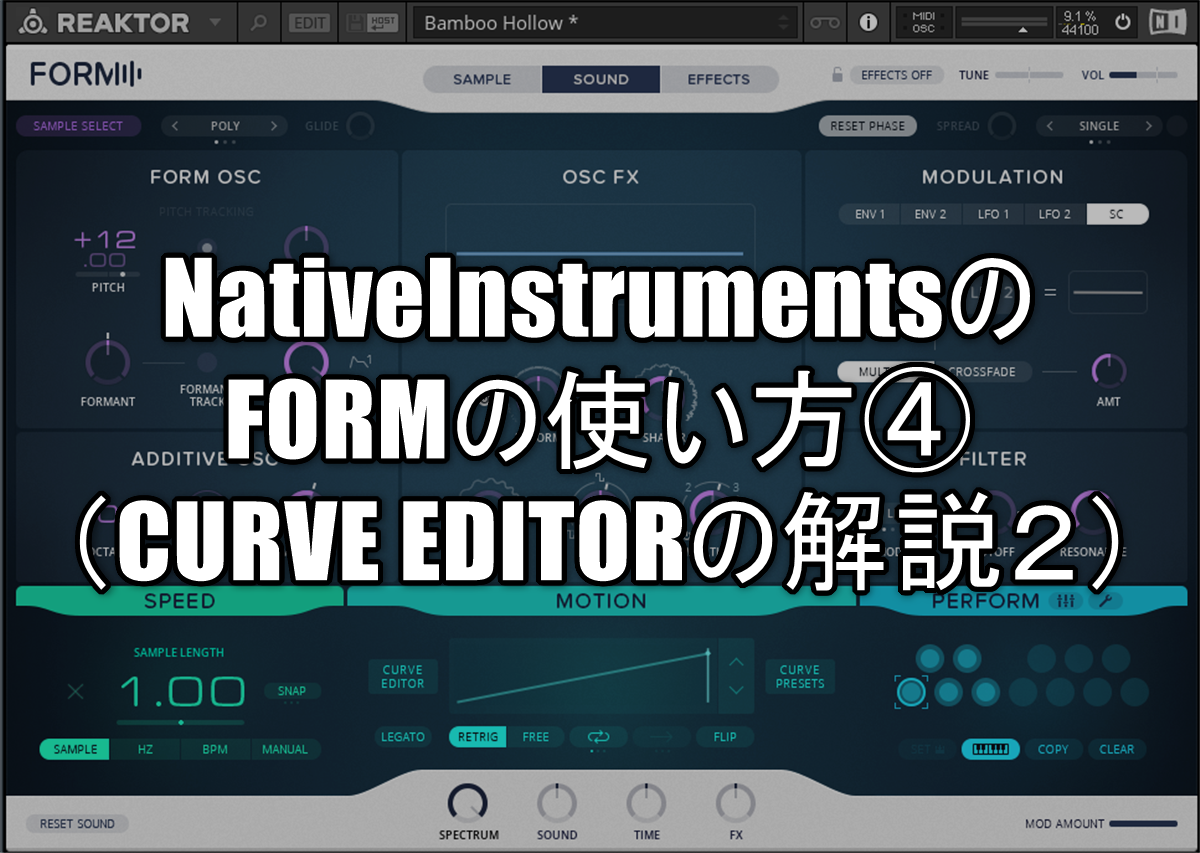
It is a continuation of "MOTION CURVE EDITOR".
This article will be a little laterLast articleCombine with.
This article will be sent with the following contents.
・ Parameter explanation of "MOTION CURVE EDITOR" ① (above)
・ Parameter explanation of "MOTION CURVE EDITOR" ② (this article)
Parameter explanation of "MOTION CURVE EDITOR" ②
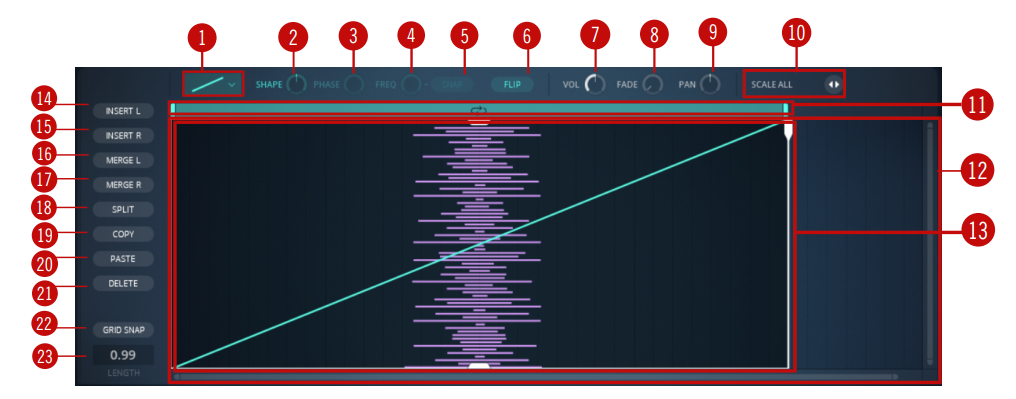
⑪Loop bar
Click and drag the end of the bar to set the timeframe for the loop that repeats in RETRIG mode.Timeframes are overlaid on the Motion Curve display in the MOTION section.
The range of loops that can be set when loops are enabled.
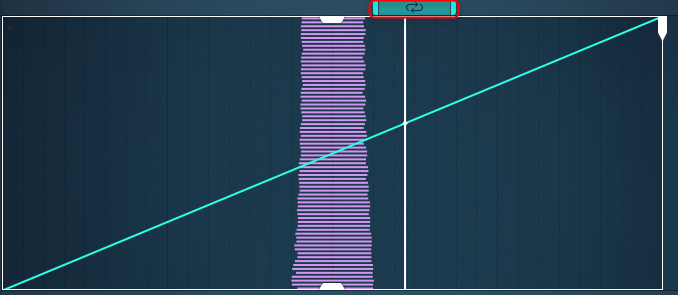
It's a little difficult to understand on "CURVE EDITOR", so it's a good idea to look at "Motion Curve Display".
⑫Editor display
The imported sample is displayed on the Y-axis of the editor view, and the selected waveforms that make up the curve for each segment are visualized as overlays that move along the X-axis.
It's hard to understand, but the range that can be set in the "Editor display" and the range that can be set in the "Main section" where the waveform is displayed are different.
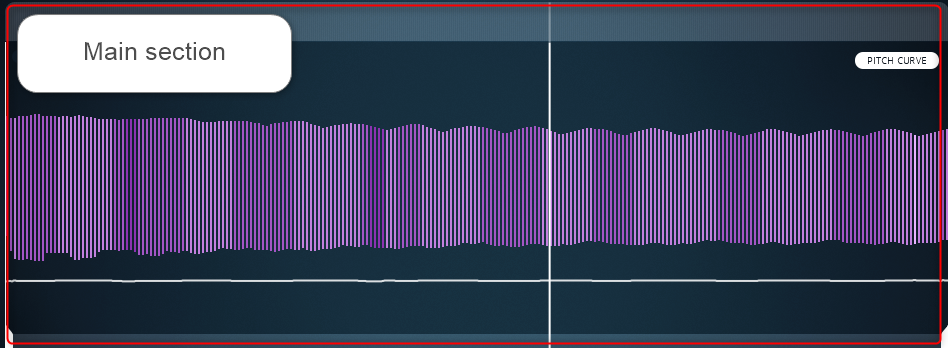
It is like setting the range and segment in the "Editor display" after setting the range in the "Main section".
Changing the range of the "Main section" changes the range of the waveform displayed in the "Editor display".
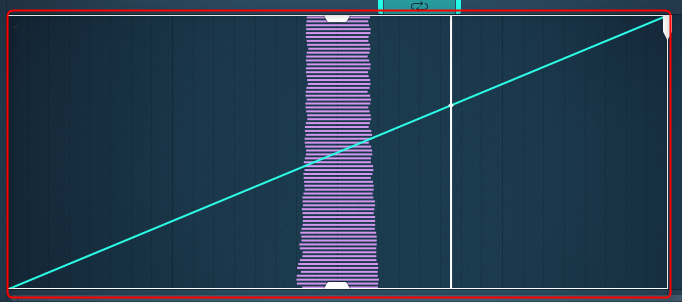
⑬ Segment window
You can change the depth of the motion curve and the size of the segment by clicking and dragging the white handles on the top, bottom, left, and right of the segment.
The segment is displayed in the "Editor display".
It can be divided and the range and "Motion Curve" can be set in each "Segment".
⑭ INSERT L, ⑮ INSERT R
⑭ Click to insert a new segment to the left of the selected segment.
⑮ Click to insert a new segment to the right of the selected segment.
The length of the segment changes.
You can change the zoom by right dragging the mouse.
⑯ MERGE L, ⑰ MERGE R
⑯ Click to delete the segment to the left of the selected segment and move the selected segment to that position on the X-axis at the same time.
⑰ Click to delete the segment to the right of the selected segment and at the same time move the active segment to that position along the X-axis.
The length of the segment changes.
⑱ SPLIT
Click to split the selected segment into two, each segment being half the length of the selected segment.
Since one segment is divided, the length of the segment does not change.
⑲COPY, ⑳PASTE, ㉑DELETE
Click to copy the selected segment to the clipboard.
Inserts the copied segment at the position of the selected segment.
Click to delete the selected segment.
I don't think there is any particular need for explanation.
You can copy, paste and delete.
㉒ GRID SNAP
Click to enable / disable grid snap.When activated, clicking and dragging the white draggers on either side of the segment window will force the window size to snap to the step grid when you resize the segment.
You can set whether to snap to the grid.
Normally, I think that "GRID SNAP" should be enabled.
㉓ LENGTH
Click and drag to set the length of the entire motion curve.
This value should be an integer such as XNUMX or XNUMX.
If you change this, the playback speed will change and it will not be synchronized with the tempo.
I changed the "Length" with a drum loop to make it easier to understand.
Summary
After all FORM is interesting.
For example, in the video below, I made a synth sound from a drum loop.





Comment