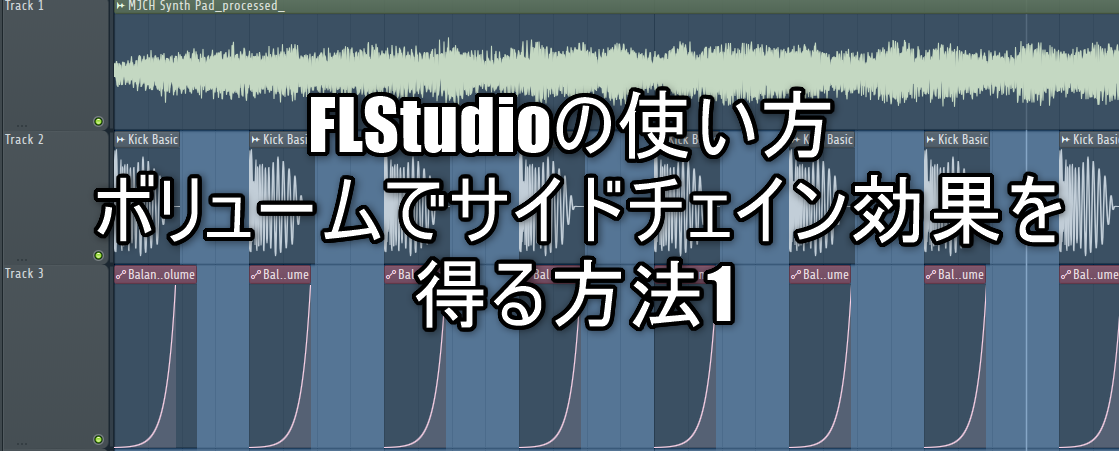
How to use FL Studio How to get a sidechain effect with a volume 1
I'm yosi, the caretaker of Chillout with Beats.
I found an interesting method, so I will write it as an article.
I have written some sidechain stories, so if you are interested in sidechain, please check out other articles.
Other articles use comps to get the sidechain effect, but this time we'll use volume automation.
How to get a sidechain effect with volume automation
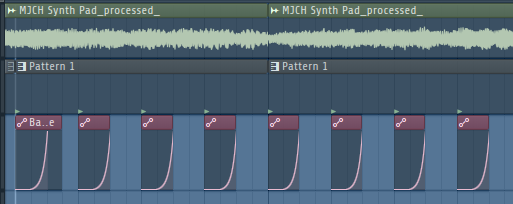
It's easy, but you can set the release time freely, so this method is good if you want to control the effect of the side chain freely in the middle of a late song or song.
How to create automation for Kick's waveform
This is the simplest method.
Adjust the volume automation while watching the Kick waveform.
One thing to note here is that you shouldn't do it with the volume of the mixer.
The reason is that it becomes difficult to adjust the volume later.
Anything is fine, so insert a Gain plug-in into the mixer to adjust the volume.
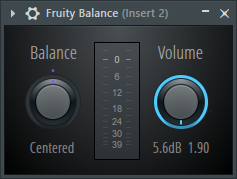
Here, use the "Fruity Balance" that comes with FL Studio.
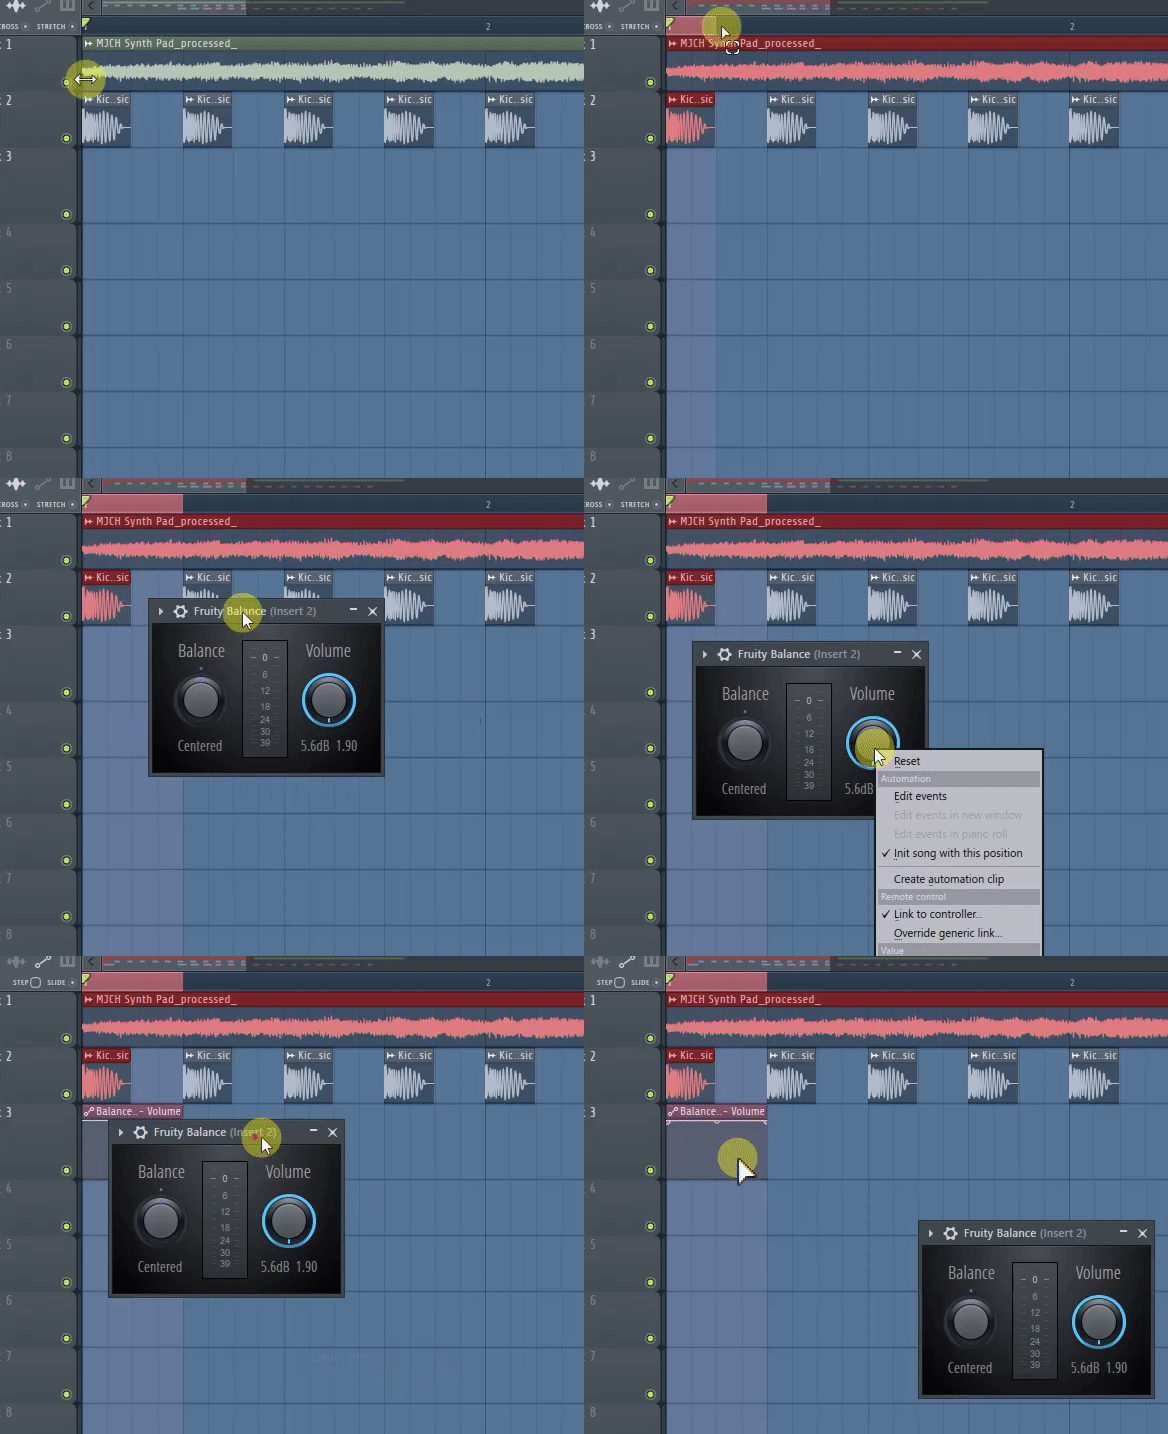
First, arrange the Kick and drag while pressing the Ctrl key to select the range for one Kick. (If you do this, the range to create automation will be the selection range)
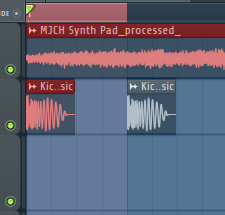
Insert "Fruity Balance" into the mixer you want to apply the sidechain effect to.
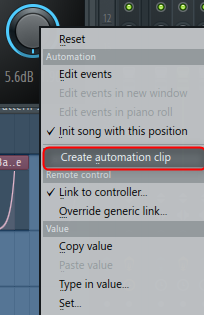
Right-click on the Volume knob and click Create automation clip.
I made a video so far.
Next, if you move the mouse wheel while pressing the Ctrl key, you can zoom in and out horizontally, and you can zoom in and out with the mouse wheel while holding down the Alt key, so you can zoom in to a size that is easy to see.
You can also zoom in and out by dragging with the mouse as in the latter half of the video below.
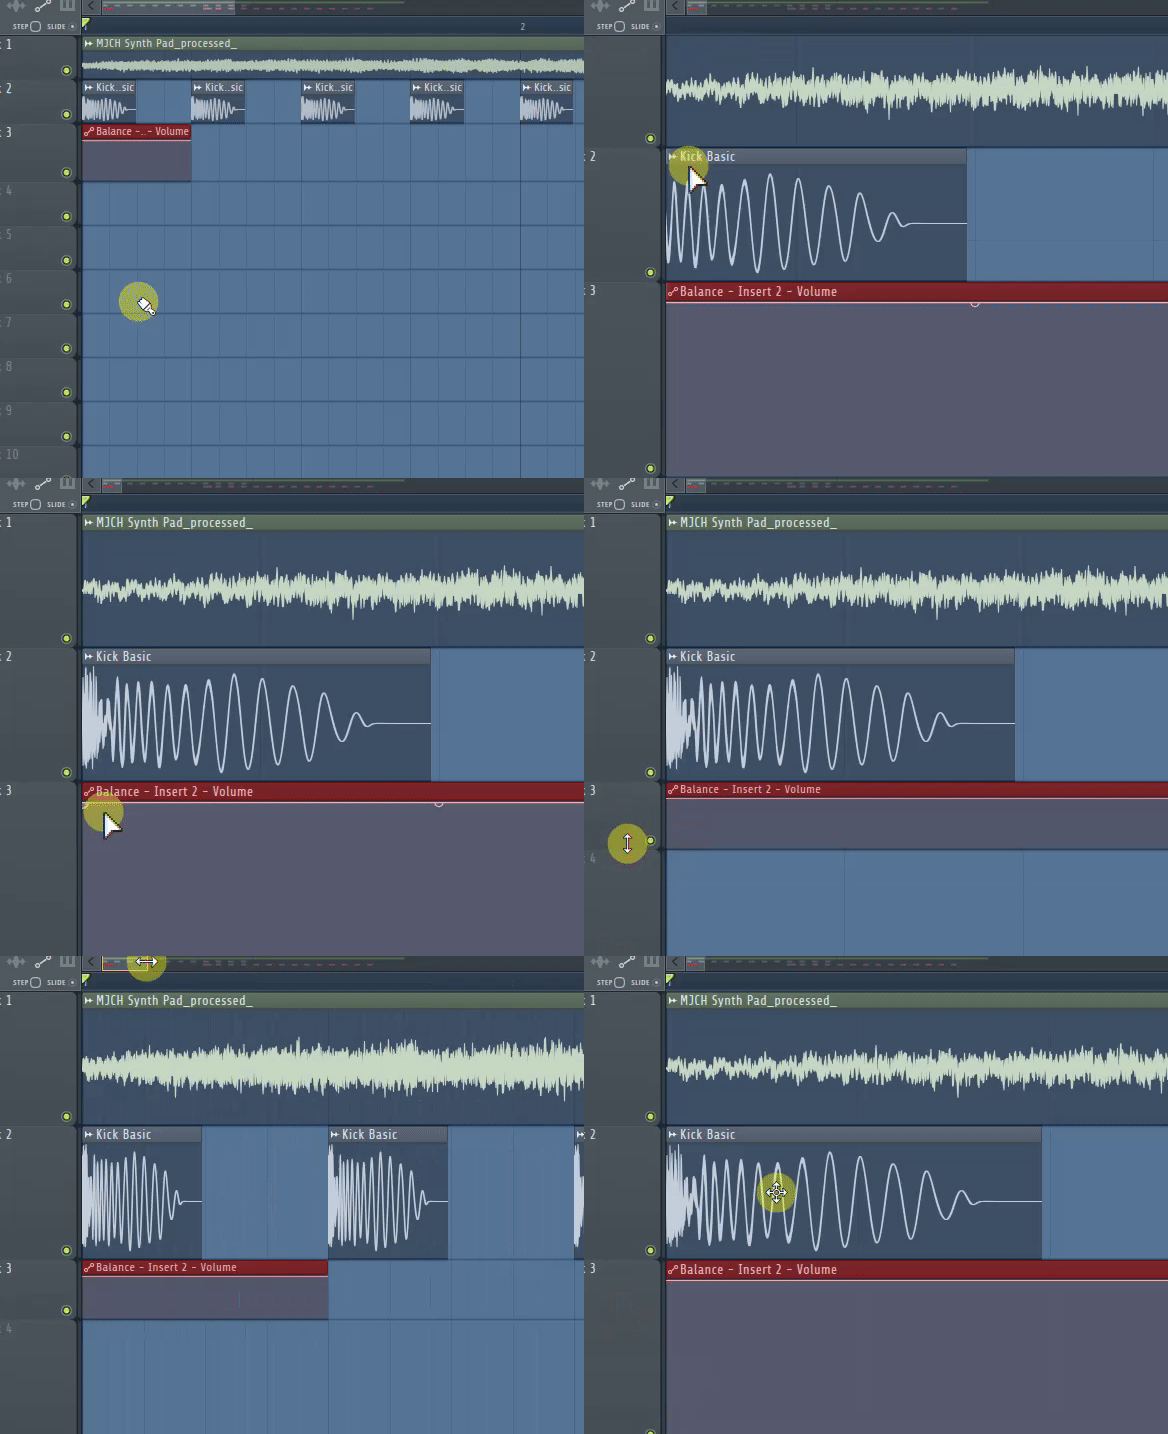
It's hard to explain that it's a word from here, so please watch the video.
All you have to do is adjust the automation curve to match the Kick and line it up.
The atmosphere changes completely depending on how you write the curve, so please try various things.
As pointed out on Twitter, in the case of "Fruity Balance", the maximum value is +5.6 dB, so it will be louder than the original volume.Adjust the automation or adjust the ratio of the parameter movement to the output of the automation as follows. (Default is 1: 1 ratio)
Right-click on the "Volume" knob in "Fruity Balance" and click "Link to controller".
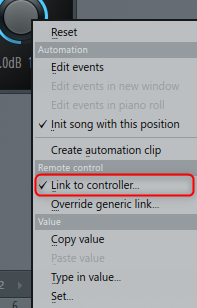
Next, enter "Input * 0.8" in the "Mapping Formula" field.
You can also change the value after selecting "First half" from the presets.
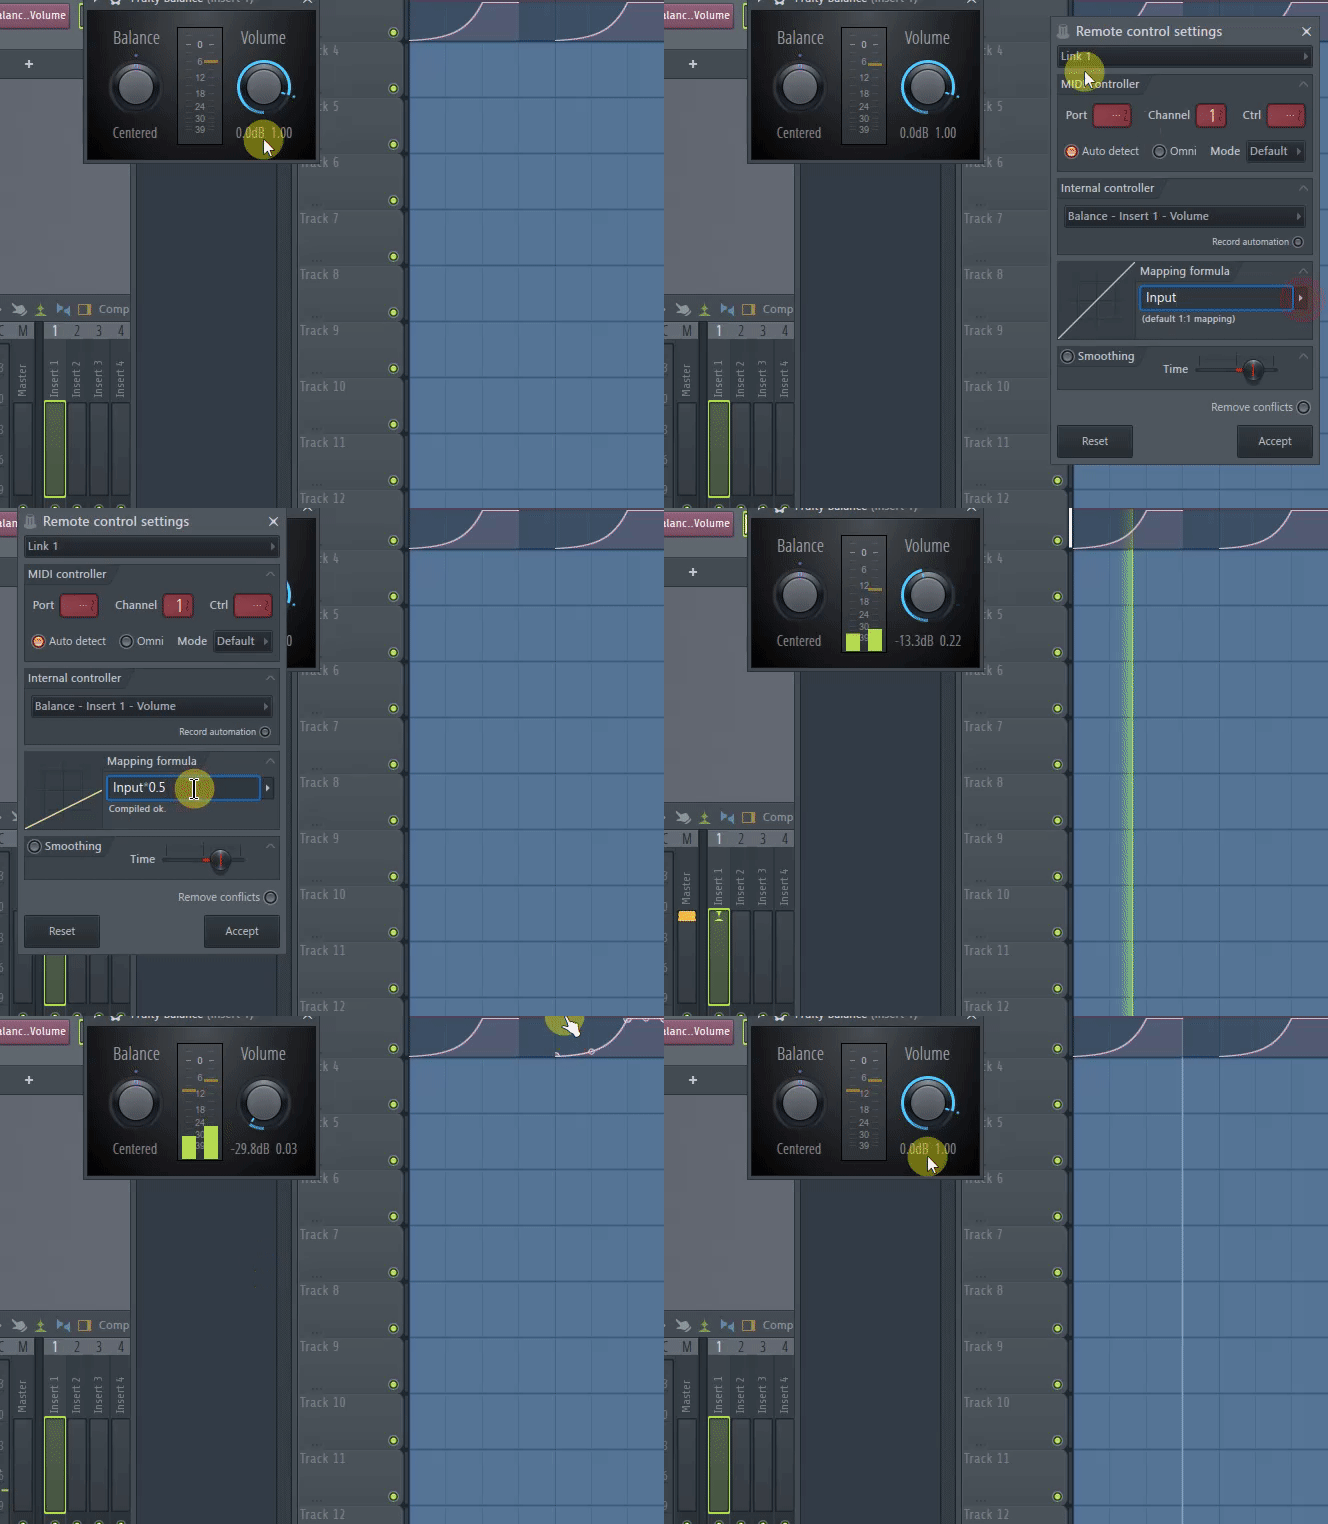
Application of how to create automation to Kick's waveform
Once automation is created, it can be assigned to other parameters.
For example, suppose you want to filter this automation. (Here, "Fruity Love Philter" is used)
Insert "Fruity Love Philter" in the same way as "Fruity Balance".
("Fruity Balance" will be bypassed once)
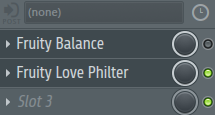
Open "Fruity Love Philter", right-click on the knob you want to automate and click "Link to controller".
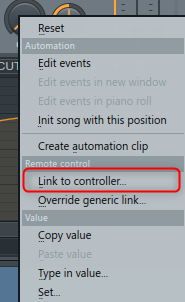
The automation name you created is displayed in the "Internal controller" drop-down list. Select it and click "Accept".
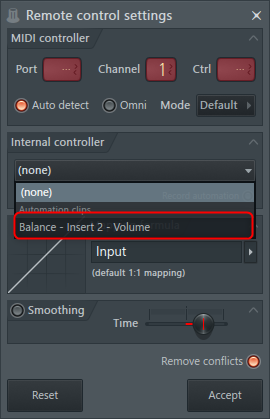
Automation is now applied to "Fruity Love Philter".
When assigning to multiple parameters, set "Remove conflicts" to OFF.
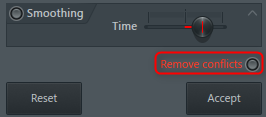
Multiple parameters can be controlled with one automation.
How to use FL Studio How to get a sidechain effect with a volume 1 Summary
Recently, I've been thinking that automation is better as a way to get the sidechain effect if you use unseasoned comps.
However, it is a little unpleasant to arrange them and to move them when changing.
There is also a way to layer, so I will show you how to do it next time.


Comment