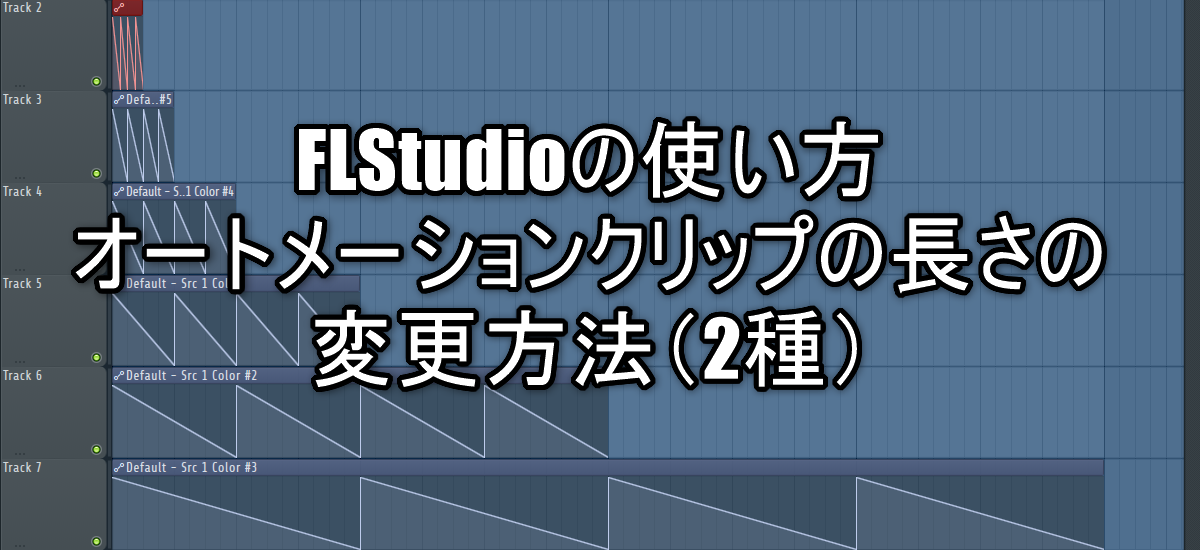
How to use FL Studio How to change the length of the automation clip (2 types)
I'm yosi, the caretaker.
Automation material follows.
I'm a little busy with work, so I'll keep it light.
This time, we will send you the following contents.
In short, it is a simple way to do the following things.
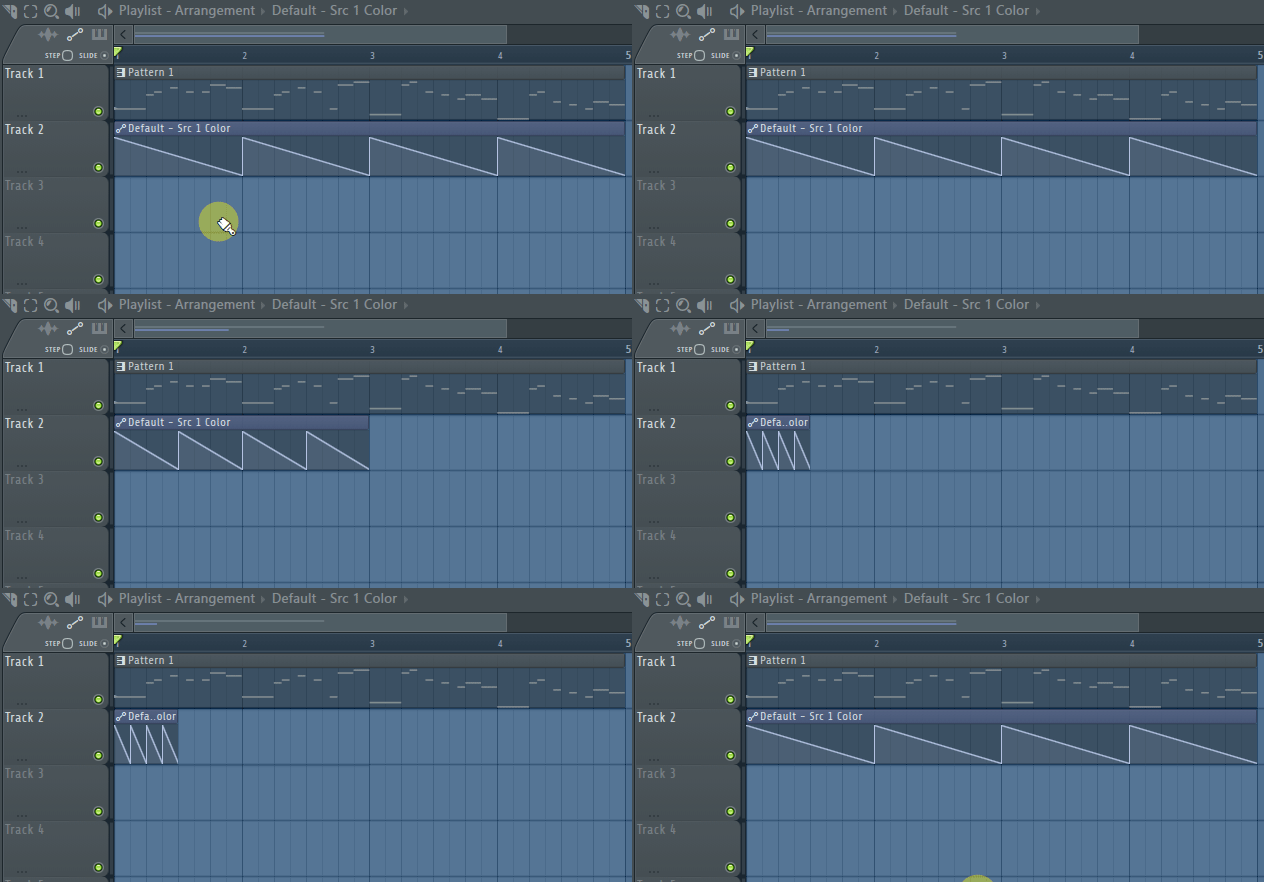
How to change the length of an automation clip
It's easy, so I'll go quickly.
There are two methods.
・ Change TIME and RANGE
Change the root note
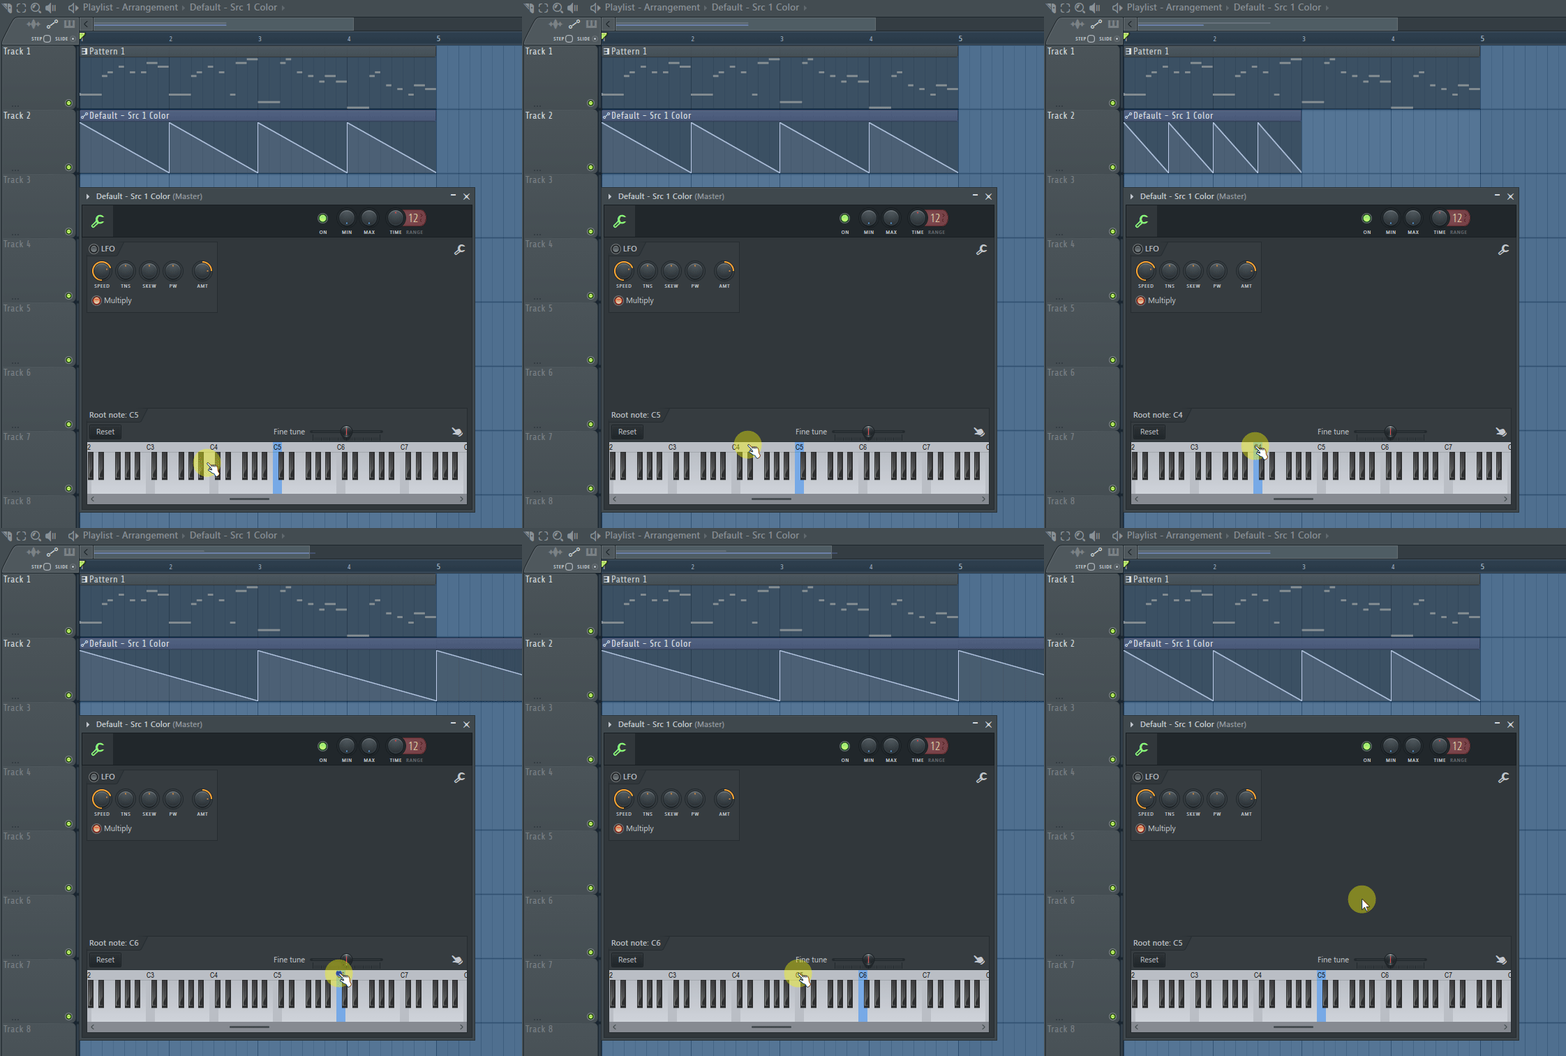
Double-click on the top of the automation clip.
A dialog is displayed.
At this time, the blue part (root note) of the keyboard is on C5.
If this root note is set to C4, the automation clip will be halved and if it is set to C6, it will be doubled.
It changes twice (half) every octave.
Change TIME and RANGE
This also goes crisply.
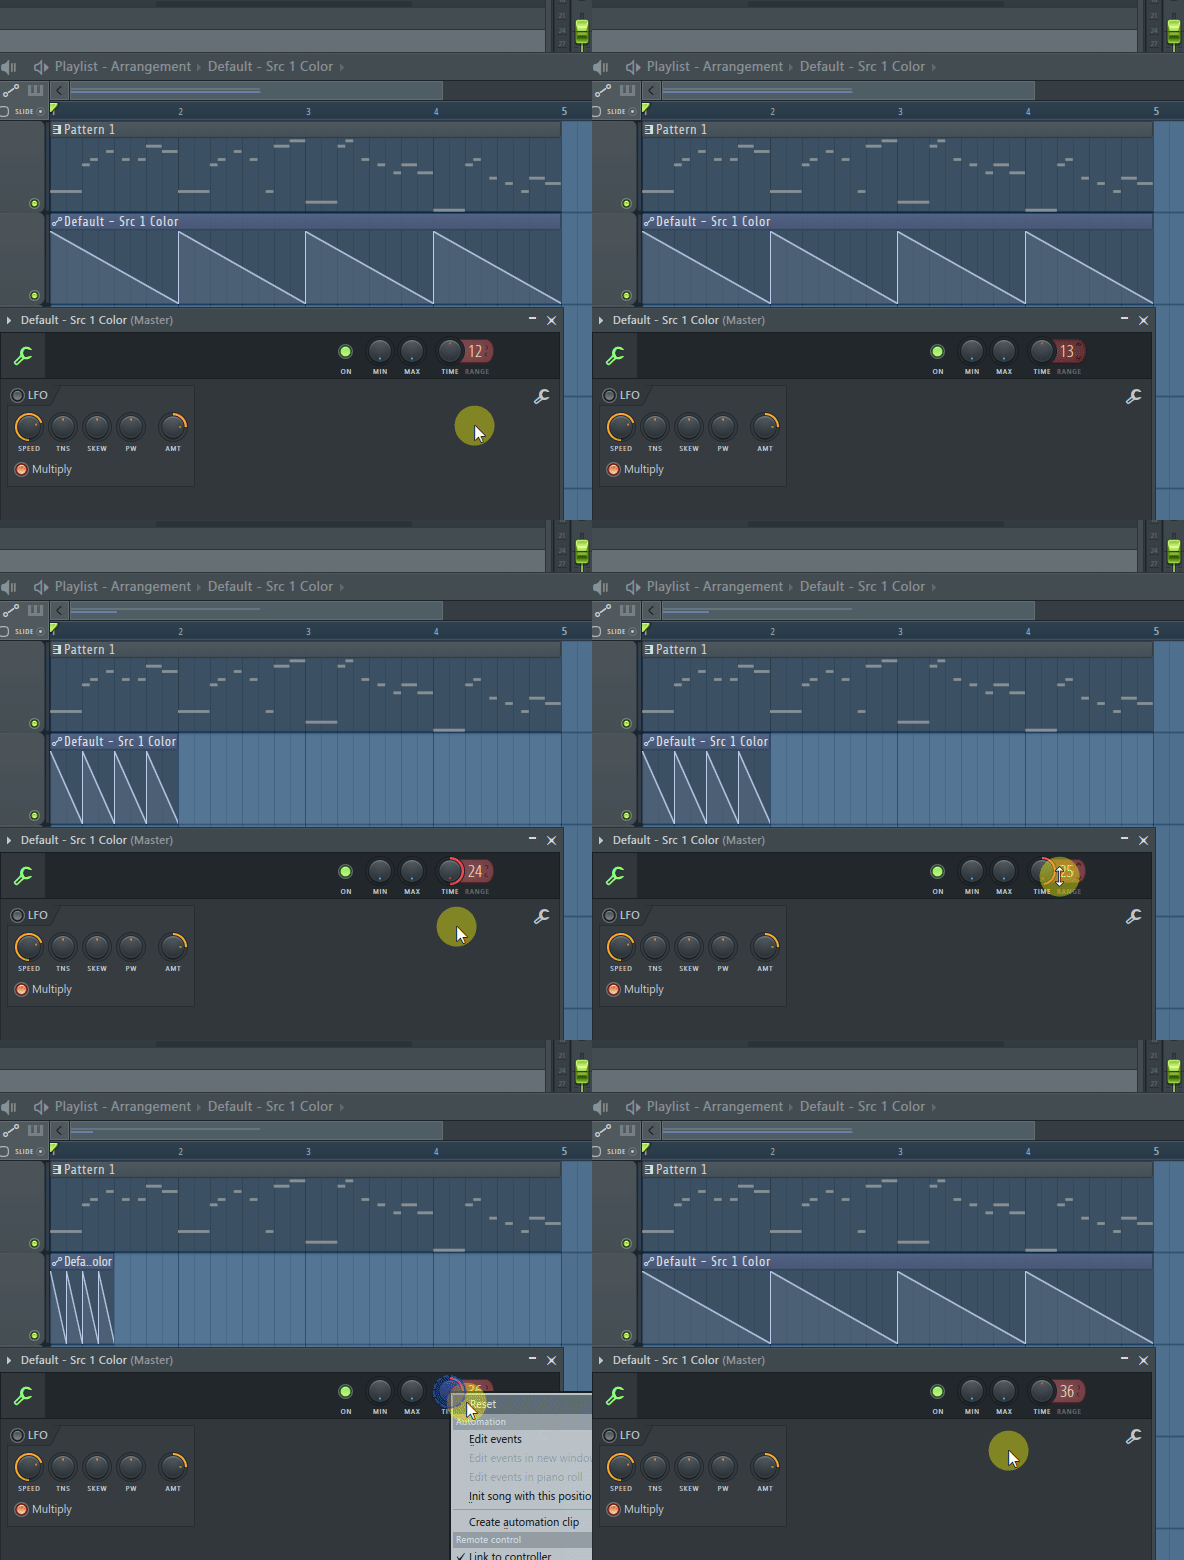
The second is to change the "TIME" and "RANGE" at the top of the dialog that opens by double-clicking on the top of the automation clip.
As before, it changes twice (half) every octave.
"RANGE" is one octave for every "12".
Therefore, if you want to make it 1 times (4/24), set "RANGE" to XNUMX.
Of course, you can make fine adjustments by lowering "RANGE" and changing "TIME".
How to use FL Studio How to change the length of the automation clip (2 types) Summary
If you don't know this, it's a big difference, so please remember it.
Next is the automation clip material.
Next is an application that you can easily do such a thing by utilizing what I wrote in a recent article.


Comment