How to use FL Studio How to convert sample dynamics to automation
When I was writing another article, there was a parameter that I was interested in, so I tried it, so I will introduce it.
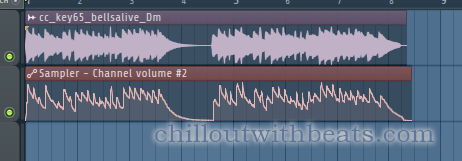
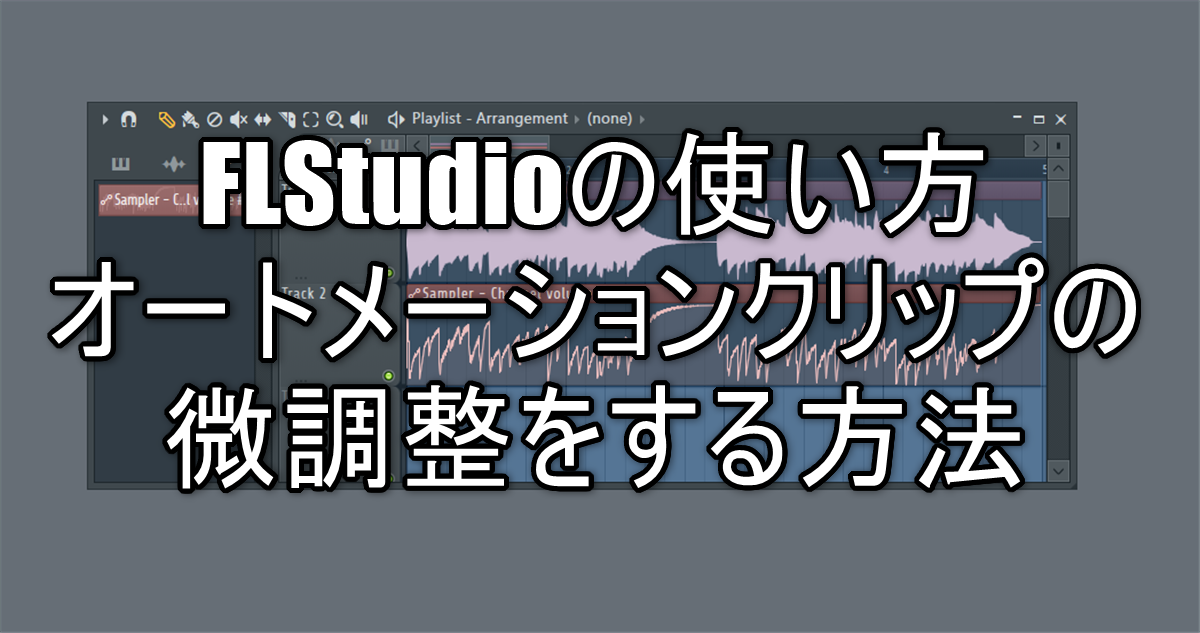
First of all, it is a method to make an automation clip in the shape of the waveform of the sample as follows.

If this can be done, it is possible to apply the saturator only to the strong sound, or to reverse it and do things like ducking delay and reverb.
There are two ways to do it.
・ How to use Fruity peak controller
Then I will explain how to do it immediately.
How to convert audio files directly
There is a function to analyze audio in the automation options, so use that function.
First, load the sample to automate the dynamics of the sample.
I think that the sample with clear dynamics is easier to use.

Next, create the appropriate automation.
(If the parameter you want to assign is fixed)
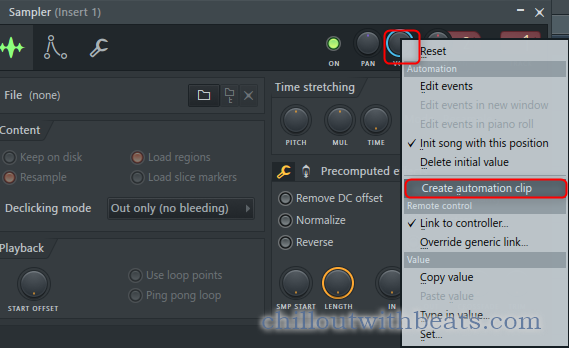
I will make it with "VOL" of "Sampler" which is not used here.
Right-click on "VOL" and click "Create automation clip"
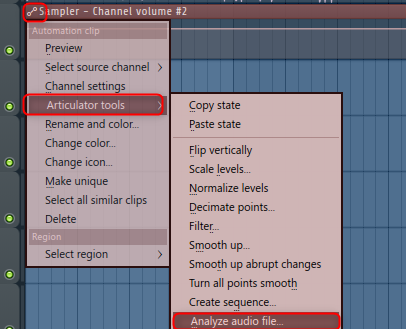
Click the upper left corner of the automation clip, then click "Analyze audio file" from "Articulator tools".
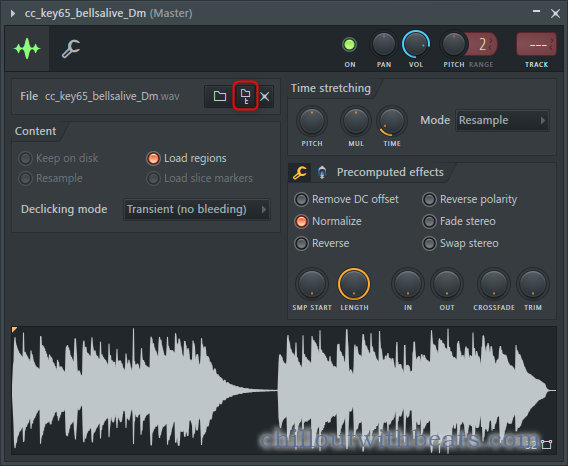
A dialog will appear, so open the loaded sample here as well.
To find the location of the sample, open the sample and click the "t" icon
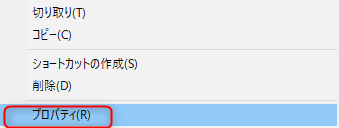
Since the sample is displayed in the browser, right-click and click "Windows shell menu"
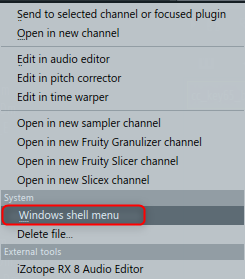
Then click "Properties" to find out the location.
Select a file and it will be loaded automatically.
How to use Fruity peak controller
I don't know the reason for the first method, but the timing may be off, so I will introduce this as well.
Load the sample.

Load "Fruity peak controller" into the mixer.
Assign "Fruity peak controller" to an appropriate parameter.
Assign it to the "VOL" of the "Sampler" that is not used here.
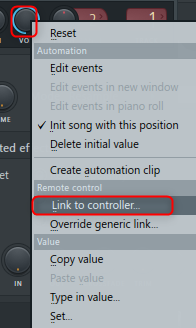
Right-click on "VOL" and click "Link to controller".
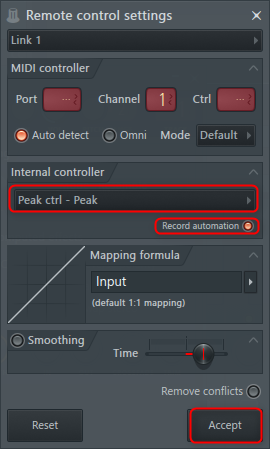
Select "Peak ctrl – Peak" from "Internal controller", click (illuminate) "Record automation", and click "Accept".
Then click the "Record" button in "SONG" mode
![]()
Click Notes and automation in the dialog that opens to play it.
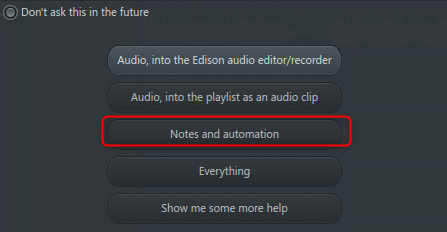
It will stop when it plays to the end of the sample.
Then, it is recorded as "Event" as shown below.
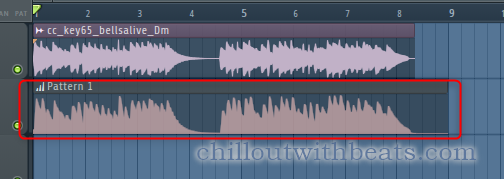
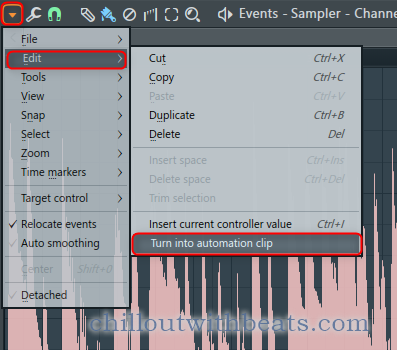
Double-click Event.
Click "Edit"-> "Turn into automation clip" from ▼ on the upper left.
A dialog will appear, so just click "Accept"
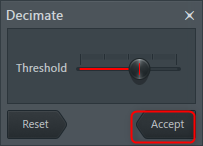
It will be converted to an automation clip as shown below.
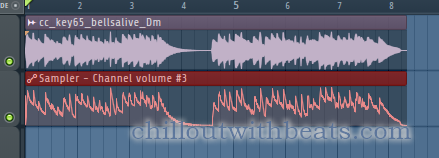
How to use FL Studio Summary of how to convert sample dynamics to automation
For the time being, I explained how to make dynamics and automation clips.
I will write the actual usage method at a later date.
I have written many other articles about FL Studio, so please take a look.
Comment