How to use FL Studio How to fine-tune automation clips
I think it's difficult to make a small automation clip a little bigger or smaller overall.
"Articulator Tools" are useful in such cases.
This time, I will explain the "Articulator Tools".
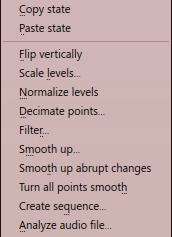
The automation clip used in the explanation uses the automation created in the previous article.
Most of the "Articulator Tools" are useful tools for automation clips created with "Analyze audio file".
Explanation of "Articulator Tools"
I will explain in order from the top.
It is from "Articulator tools" that appears when you click the upper left of the automation clip.
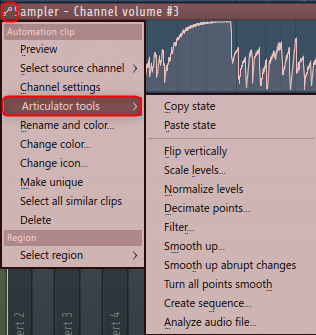
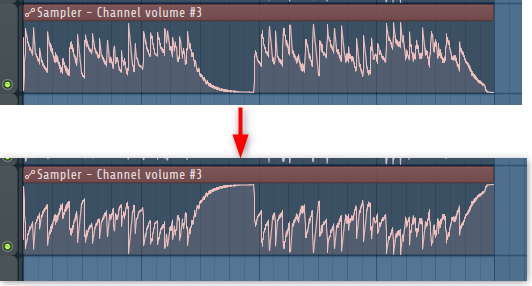
flip vertically
Simply swap the top and bottom.
Scale levels
You can adjust the entire automation clip.
"Level Scaling" opens.
"Level Scaling" has four parameters.
If you use "Multiply", you can raise / lower the value a little overall.
"Offset" can shift the lower limit / upper limit.
I don't really understand the movement of "Tension", so when I looked at the manual, it said "Rescaling the level logarithmically".
"Center" can be moved by changing the above parameters.
I took a video.
Normalize levels
Scale the envelope so that the highest or lowest level is ± 100%.
Same as audio normalization.
Decimate points
Opens a simple tool for manipulating the number of control points in the envelope (useful when used with audio file analysis).
Creating an automation clip from an audio file has a lot of points and is difficult to edit later.

You can reduce this point.
Filter
Open the Envelope Filter tool (useful in conjunction with "Analyzing Audio Files").
It seems that you can reduce points by using "Envelope Filter Tool".
You can smooth the curve in a different way than "Decimate points".
It seems that they are using IR technology.
The filter tool modifies the envelope by filtering it according to the impulse curve.Its main purpose is to smooth out the shape of complex envelopes.The filter impulse is a numerical function that is multiplied by each point in the original envelope, distributing the values to the points in the surrounding envelope according to the shape of the impulse.More technically, the impulse is applied as a moving window on the original envelope (convolution) according to the Width and Impulse settings.
Smooth up
Open the "Smooth Up" tool to smooth the shape of the envelope (useful with "Analyze Audio File").
It's just like a transient shaper cut.
Smooth up abrupt changes
Preset filtering (smoothing) to remove sudden changes.
As you can see in the manual, the changes are very difficult to see.
It has changed a little, but I think it will be easier to understand if there is a sudden change.
Turn All Points Smooth
A preset filter that filters the envelope.
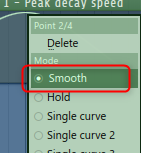
I don't understand the meaning of the manual, but it seems to change "Mood" to "Smooth" for all points.
Create sequence
Open the envelope sequencer.
I think it's better to write how to use this separately.
Existing automation will be ignored.
A tool that allows you to easily create automation clips such as gates.
How to use FL Studio Summary of how to make fine adjustments to automation clips
If you use "Articulator Tools" well, it will save you a lot of time.
Especially when doing ducking with automation clips, I think that "Articulator Tools" is indispensable because you can drive the settings quite finely.
![[Free] Samples for techno are now available for free at ZteknoLoops 18 2021 05 12 13x33 02](https://chilloutwithbeats.com/wp-content/uploads/2021/05/2021-05-12_13h33_02.png)
Comment