How to use FL Studio How to use an automation clip as an LFO
I'm yosi, the caretaker.
I think there are few basic explanations, so I will write a little.
Of course, I will explain well the places that are written only roughly in other places.
This article will be sent with the following contents.
・ Explanation of LFO settings
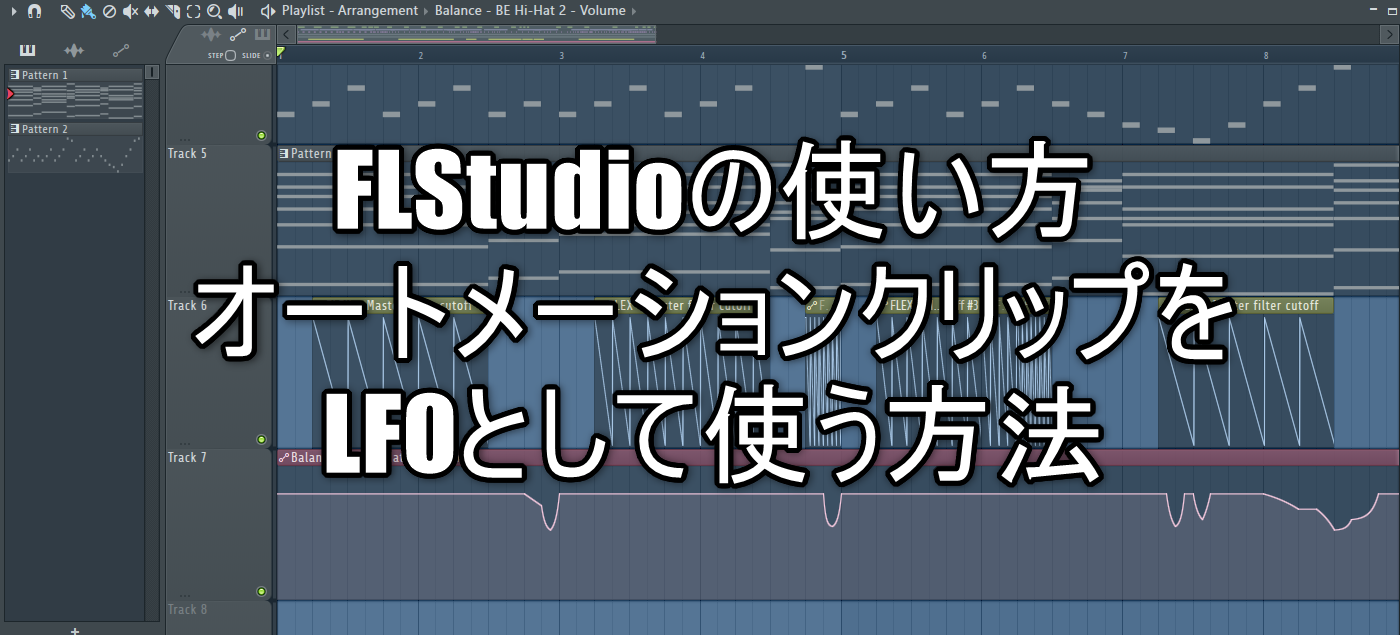
For example, you can do something like this.
"Cout off" of "FLEX" is automated.
How to use automation as an LFO
First, create automation.
Here, we will explain using "Cutoff" of "FLEX" as an example.
Set the initial value of "Cut off" of "Master Filter" to 50%.
Right-click on the Cut off knob and click Type in value.
Enter "0.5" in the dialog.
I will explain later,It is very important to set the initial value to the median.
Right-click on the Cutoff knob and click Create autiomation clip.
Now that you have an automation clip, double-click on the top part of this automation clip.
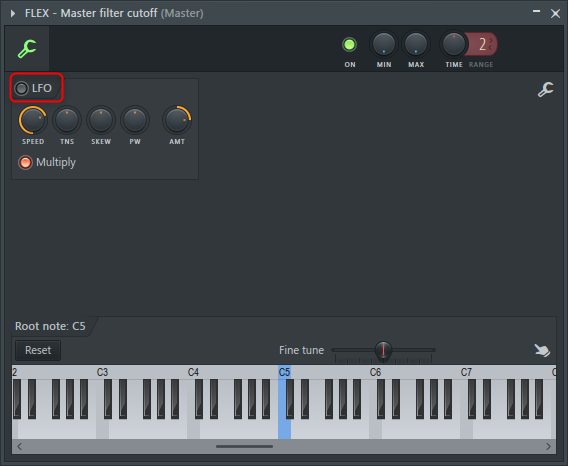
Then the following screen will open, so click "LFO" to turn it on.
That's all for the settings used as an LFO.
Reason for setting the initial value to the median
I'm addicted to this, but if it's normal automation, you don't have to worry about it.
However, when using it as an LFO, it seems that the value of the parameter when the automation was created is linked as the median value of the LFO.
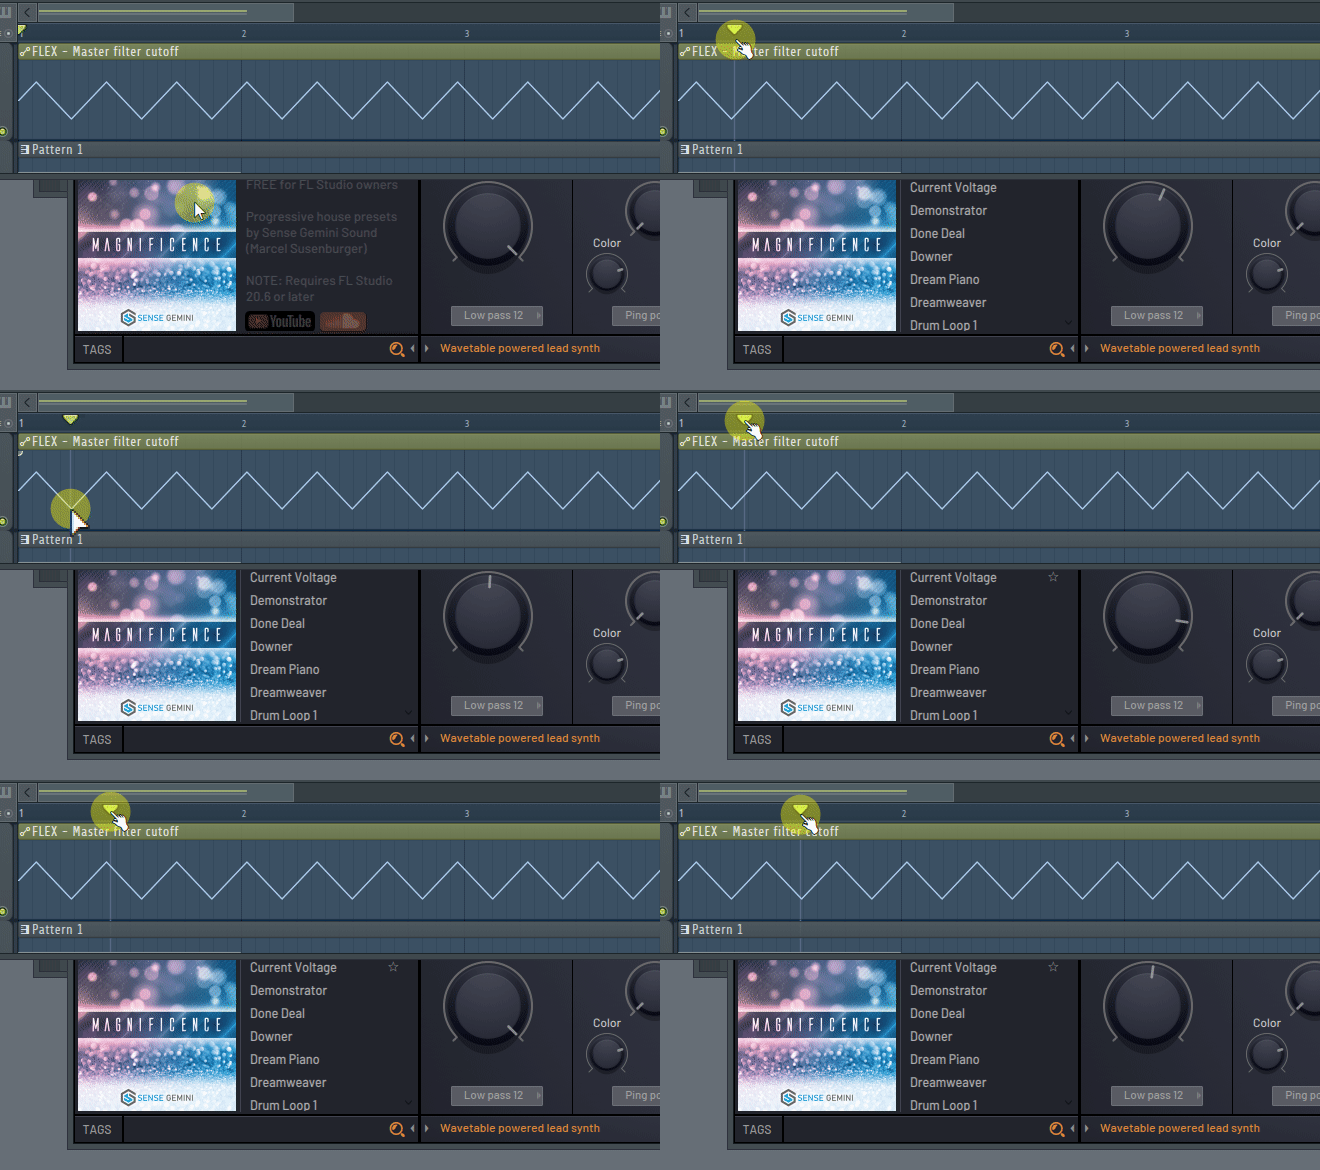
Therefore, if you create an automation with the "Cutoff" value of "Master Filter" at the maximum, the median LFO will be the maximum value of "Cutoff" as shown in the video below.
The theory is good, so if you want to use automation as an LFO, set it to the median before creating the automation.
Explain the LFO settings
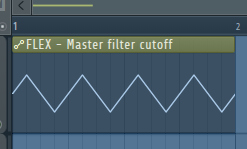
The default is a triangle wave.
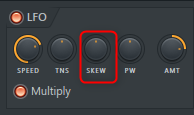
For sawtooth waves (reverse sawtooth waves), set the middle "SKEW" knob to maximum or minimum.
Set maximum and minimum values
The point is to set the range to be moved by the LFO.
Use the "MAX" and "MIN" knobs.
Use "MAX" and "MIN" at the top of the automation settings screen to make adjustments.
However, maybe it was a problem, the minimum value changed when "MAX" was changed.
(MIN seems to be the right move)
Change the amount of change on the time axis
You can actually use the envelope even in the LFO state.
The envelope is hidden in the upper left and can be used by pulling it out.
I prepared a video.
How to use FL Studio Summary of how to use an automation clip as an LFO
The envelope is also deep.
Next time, I'll show you how to use multiple envelopes.



![[Free] Audified's RecAll is now available for free (Mac only) 21 2020 07 31 15x27 14](https://chilloutwithbeats.com/wp-content/uploads/2020/07/2020-07-31_15h27_14.png)
Comment